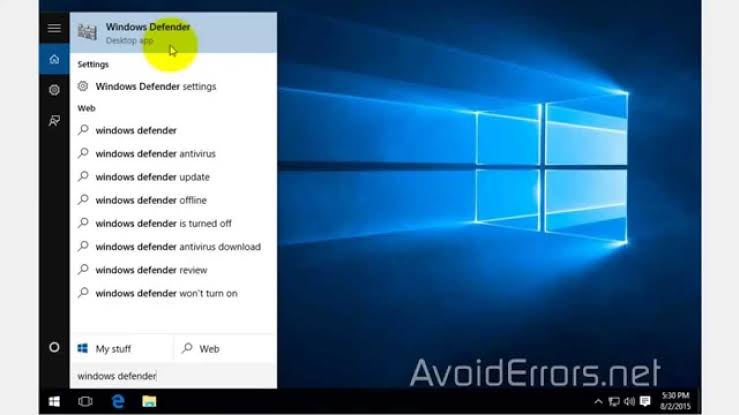
Here are the steps to turn off Windows Defender, but keep in mind that it will expose your system to security threats.
You can disable your Windows Defender both temporarily and permanently in Windows 10. It can be disabled until you restart your computer, and it turns on by its own, or you can disable it till you allow it to restart through the Windows Registry Editor. But remember, disabling it will leave your computer vulnerable to security threats, and using the registry editor outside of its parameters can harm or even stop your computer from working entirely. Here are seven steps to do it
The Procedures

1. Open the start menu at the bottom left corner of your screen.

2. Select Settings on the left side of the Start menu, located above the power button icon. You can open the settings menu by clicking that.

3. After the menu appears, select Update & Security at the bottom row of the menu.

4. Then select Windows Security, which will appear under the Update & Security panel.

5. Then click on Virus & threat protection, which is the first option that comes under ‘Protection Areas.’ Once you select it, it will open the Windows Defender window.

6. Next, select the Virus & threat protection settings. This option will be located in the middle of the page.

7. Next up is to disable the Defender’s Real-time protection. Click on the blue “On” switch under the ‘Real-time protection’ heading and select yes, when the prompt bar appears. This will disable the real-time scanning ability of Windows Defender.
An alternate option for disabling Defender is by clicking the blue “On” switch located under the ‘Cloud-delivered protection’ heading and clicking yes when the prompt bar appears. Windows Defender will be turning on by itself when you restart the computer after this.

